Rx8: Radio upgrade
This is going to be a long one. One, because replacing the headunit on the Rx8 involves a lot of work, and second, because I feel like sharing the pain and hardships I went through so you won’t have to…
My Rx8 is from 2009, so it only had a very basic touchscreen radio and a very outdated navigation system. No Bluetooth, no Apple Car Play, no Spotify. The sound was good, but I knew I could do better and make the most out of the more than decent factory Bose sound system. While doing my research, I found this incredibly useful post on my go-to Rx8 forum to get me started. According to the post, to retain your steering wheel controls and other controls in the car, you need to not only buy an aftermarket radio but also add several modules, so I bought the whole list:
iDatalink Maestro RR (module to retain steering wheel controls and show vehicle information on the radio)
PAC RadioPRO4 specific to the Mazda vehicles (module to retain steering wheel controls and text input to the Rx8)
Metra Dash Kit for Rx8 (Kit to replace the old radio dash)
These were the main components for the replacement. Getting all of these is expensive, but you will retain all your original features and even add some! I especially like the added gauges for vehicle information, which will show on the radio screen, so you don’t have to install external gauges. It helps me keep the clean Rx8 look I want!
Additional material you will need is :
Wire cutter and wire stripper
Insulating tape
Cable ties
some extra wire for extensions
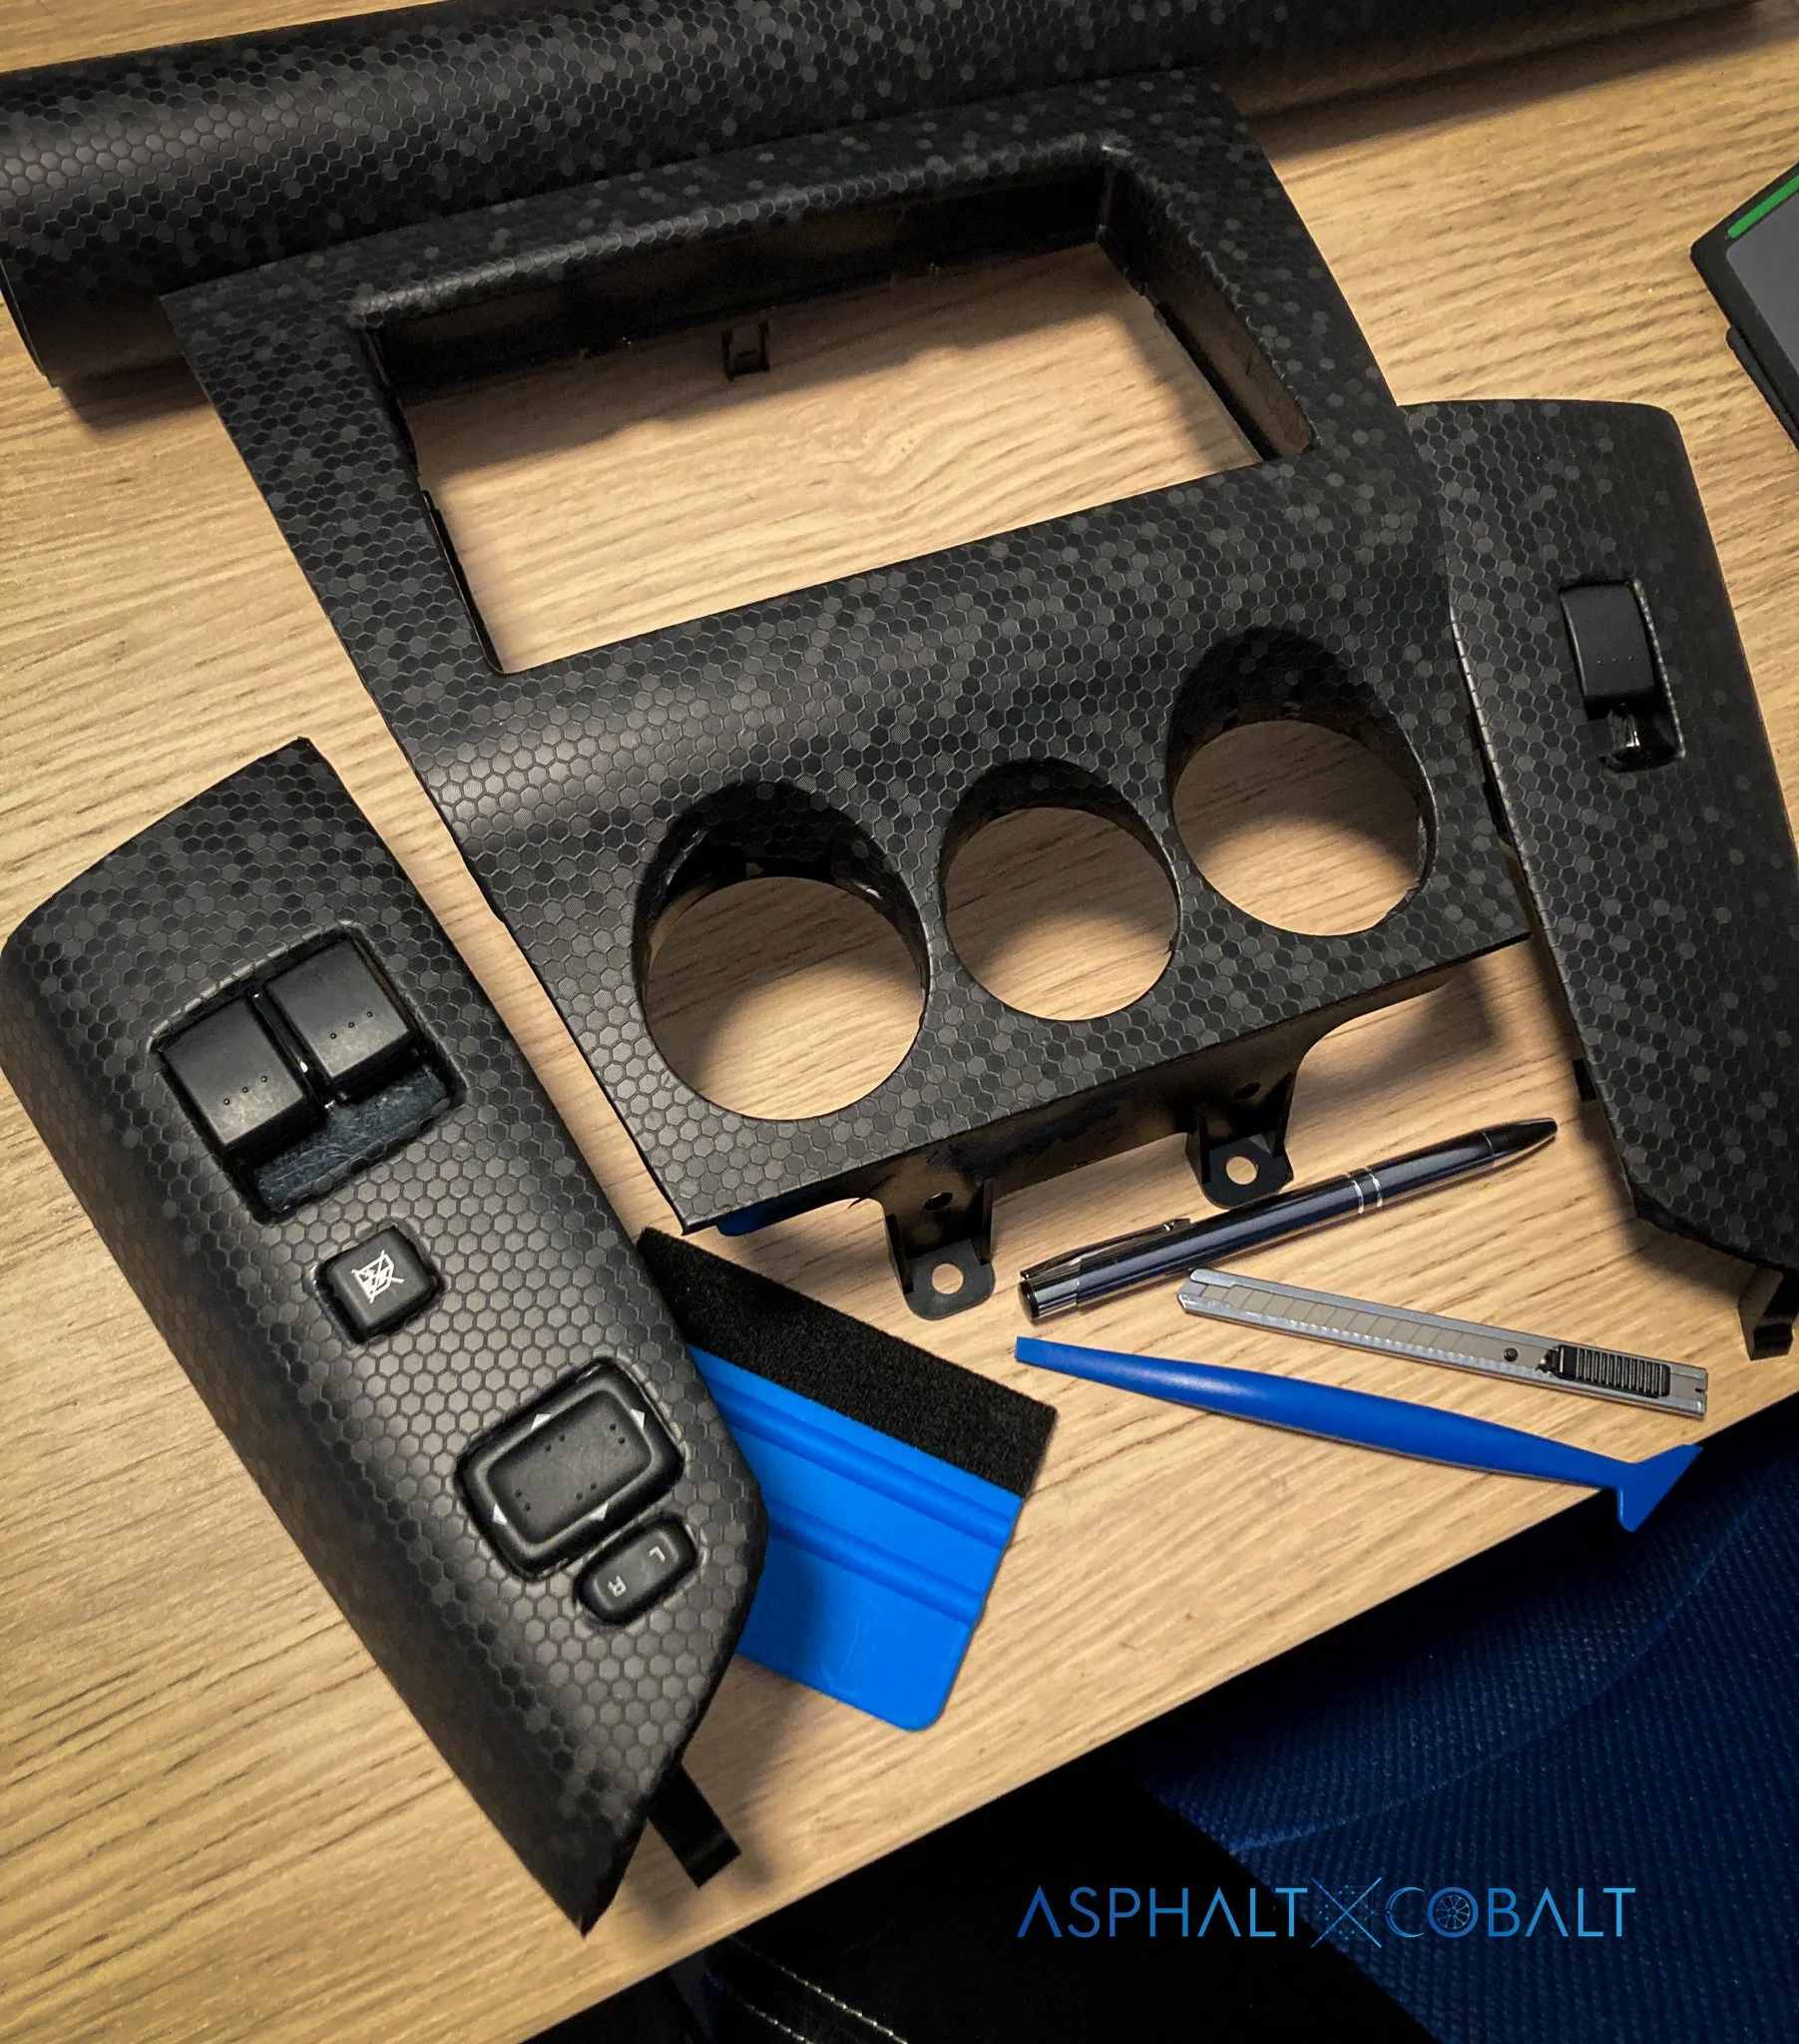
I took the opportunity to finish wrapping my interior with some hexagon carbon wrap. Looks better and hides all the hideous scratches and the annoying and ever-present dust on the stock piano black plastic…
You should definitely invest in the Metra Kit I linked above, because I tried a cheap imitation of it, and it sure does not fit right. Another lesson for the “you get what you pay for” list ! The cheap imitation did not fit very well, and lacked the upper clips to securely hold the radio in the console. The radio was actually to heavy for the frame and kept falling out, looking horrendous…
The Metra Kit, on the opposite, has all the clips, fits perfectly and saves you a lot of fumbling around to make your radio sit tight and clean!
Now the messy part: Getting the actual radio in.
First you need to take out the old radio. My favorite video on how to do it is right here. The “hidden bolt” really is a bitch to get out.
Make sure to be careful and to use either plastic tools or put some masking tape on your screwdriver. Otherwise you will end up scratching your car like I did…
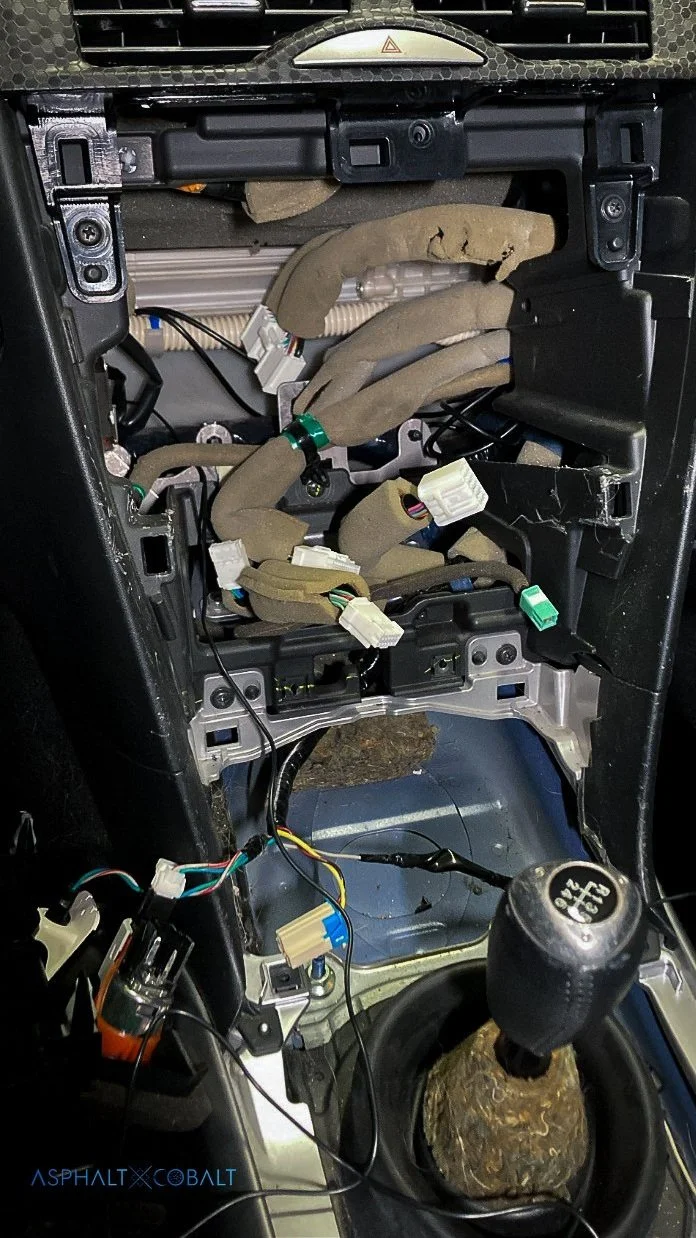
After that, you are left with this mess on your right. I suggest taking the opportunity to clean up! And definitely keep all the screws and the old radio brackets and clips, because you will need them later. I found out the hard way that the best fitting brackets and clips are the original Mazda ones and, sadly, not the ones provided with the Kenwood radio unit… It will take some trial and error to fit the old brackets on but take your time to place them right because you don’t want your new radio to wiggle in the frame every time you hit a bump on the street.
Afterwards I actually did sort of a trial run and did a test fitting after some quick wiring using T-Taps and wire connectors to make sure all the components worked. Glad I did because they did not work at all. You have to do proper wiring using either soldering or the connecting methods shown in the video I linked.
Now, take a deep breath, get yourself a large workspace, collect your tools and get to wiring. Or in this case, sorting a daunting mess. In order to make everything fit inside the rather small space behind the radio (as shown above), you will need to shorten and clean up all the new wires, because you can’t throw/just push everything in and hope for the best. I did that on my trial run, failed miserably and took out everything again to do proper work. So off to the workbench !
I strongly recommend by starting off with the radio itself. Skip all the fancy function pages and go right to the wiring chart. Now begin by cutting off all the wires you won’t need. In my case, it was the rear back camera, navigation and Sirius XM wires, car light control and remote control. I cut them off partly but still left myself about 7cm wiring in case I want to add one of these functions later. Insulate the ends tightly and put them aside. I used tape to group the finished wiring and wrote what each wire was on additional masking tape so I wouldn’t forget.
Do the same for the iDatalink and the PAC module: Sort out what you don’t need, cut it off, insulate it and put it aside. I slowly worked my way through the wiring charts, checking what each color was and grouping the wires that I would and wouldn’t use while writing it on masking tape.
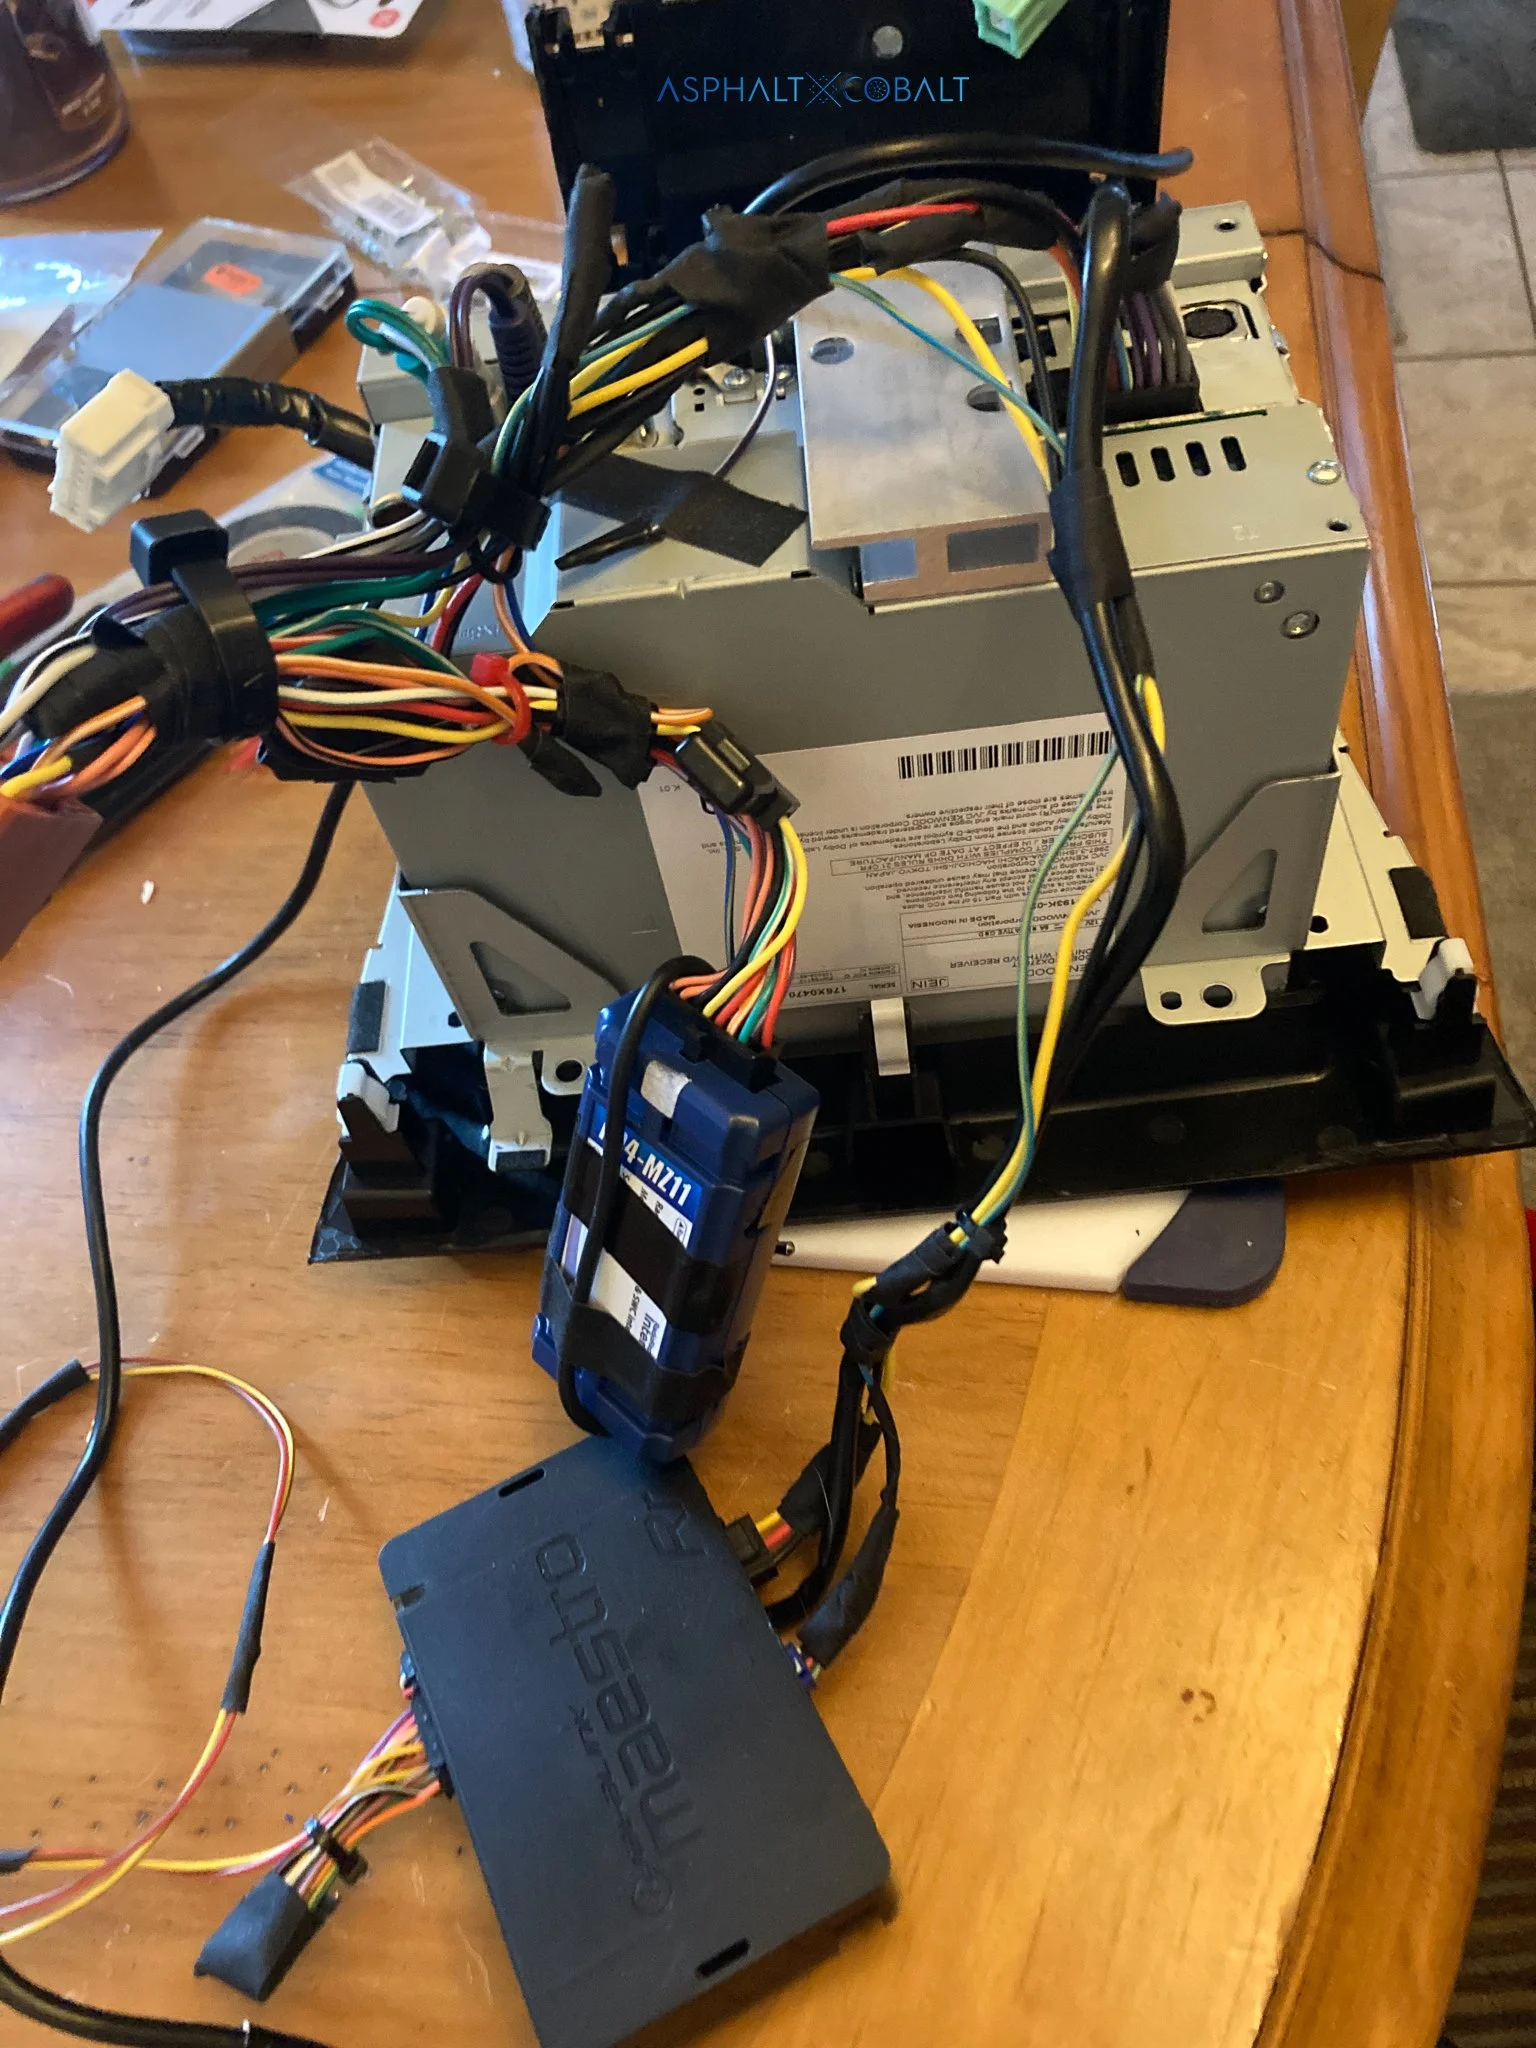
Now for the really daunting part: Connecting the modules with the radio. I started with connecting the power supplies (red, yellow, black) together. Because the PAC module will be the module actually plugged to the car, I made it my starting point and connected the Kenwood and iDatalink to the wires of the PAC module. Please read the wire charts really carefully and take your time to double check. Took me a while to figure out which wires belong where but I managed… In the end I was left with a clean, sleek harness on my radio like shown in the last picture. (Yes I am proud).
After connecting all the wires, what was left to do was to connect the bulky thing to my car. Thanks to the PAC harness, I simply connected the large main plug to the car harness. If like me, you got yourself a iDatalink module, you need to wire the brown/red and brown/yellow wires to your ODBII wires. Basically, one needs to tap into your car’s computer wires, which was terrifying. I used the method described here and cut veryyy carefully into my car wires. I then connected everything, taped it up tightly and secured it with an extra cable tie to make sure it won’t move -ever- again.
In a last effort, I reassembled the middle console by putting back all the bolts and screws and plastic coverings (which felt like a thousand pieces).
After what felt like a mammoth task to me, turning on the car and taking it for a cruise with some badass sound was one of the most satisfying post-job experiences ever!
As always, feel free to hit me up for comments if you want to via asphaltxcobalt@gmail.com


